
Recently I noticed a lot of people talking about the new SKR mini E3 controller board upgrade for their Creatlity Ender 3 printers. The board is manufactured by a company called Big Tree Technologies (BTT) and is one of the boards in their SKR range. Boards with the E3 designation refers to “Ender 3” and has an almost identical layout to the stock board (Melzi). This means that it’s basically a direct swap out and a very easy upgrade to perform. Since I don’t have an Ender 3 but it’s older brother, the CR10 (which also uses the same Melzi board) it means that it should also be a direct swap out for me. So I bought one of these boards (version 1.2) from the official BTT AliExpress shop for about €25 and installed it in my CR10 making notes as I go so I could share it here.
I have not done many upgrades to my CR10, as in it’s stock form it is a very capable printer. Having said that, swapping out the stock board for the SKR mini E3 made a huge difference, (especially when it comes to stepper motor noise) and has for sure taken my CR10 up a level! So in the next few paragraphs I will talk about the steps I took for this easy and worthy upgrade. I took my time and double checked everything but if you wanted to you could do it all in about half an hour.
Why would you do it?
Before we go through the installation, a very valid question is why even bother doing it. Well for me there were two main reasons, number one is the TMC2209 stepper drivers and number two is that it is a 32bit board (compared to the 8bit stock board). The TMC2209 stepper drivers are currently the talk of the town and rightfully so, they are light years ahead of the A4988 drivers used on the stock board. This is also the first thing you will notice after the upgrade. All of sudden the only thing you basically hear are the fans! It’s really incredible, the fans never really bothered me in the past but now I feel like getting some quieter fans! These drivers make your stepper motors run really really quiet. They also allow features like sensorless homing and can be configured through UART (which is way better than fiddeling with a small SMD potentiometer to get the motor current dialed in). Do yourself the favour and go read up on the features these drivers offer, it’s incredible!
The second reason for the upgrade was to have a 32bit board and run Marlin 2 firmware. At this stage I would say that the difference between 8bit and 32bit boards on a Cartesian style printer is still small. But in my opinion this is only because the firmware is still mostly optimized for 8bit microcontrollers, as everyone starts to move over to 32bit I think we will start to see the gap increase. The 32bit microcontrollers used on these boards can process values orders of magnitude faster allowing them to drive the motors in smaller and faster increments. This in turn can relate to improved print speed and quality. But since print quality is also a function of many other aspects of your printer, don’t expect that a 32bit upgrade alone will solve all your print quality issues. Anyway, in short by going 32bit I will be ready to take advantage of the latest features.
Installing the SKR mini E3
My board arrived about 2 weeks after placing the order and was packaged in a nice small black box. The box contained the board, stepper driver heat-sinks, USB cable and a small yellow rubber ducky.

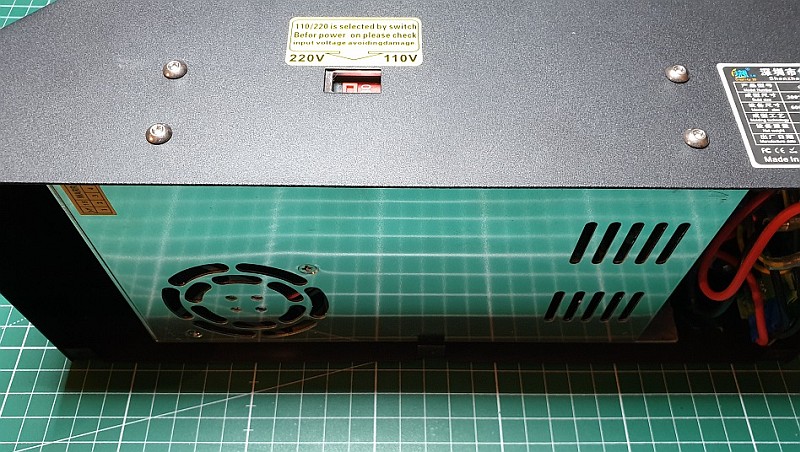
So to begin the installation I completely unplugged all wires from the control box and turned it up side down. The bottom plate can then be removed by unscrewing the 5 screws that hold it in place.

With the bottom plate out of the way you should see the power supply. The power supply can then be removed by unscrewing the 4 bolts on the side of the control box. When you do this try to hold the supply with one hand when removing the last screw just to avoid that it drops out.
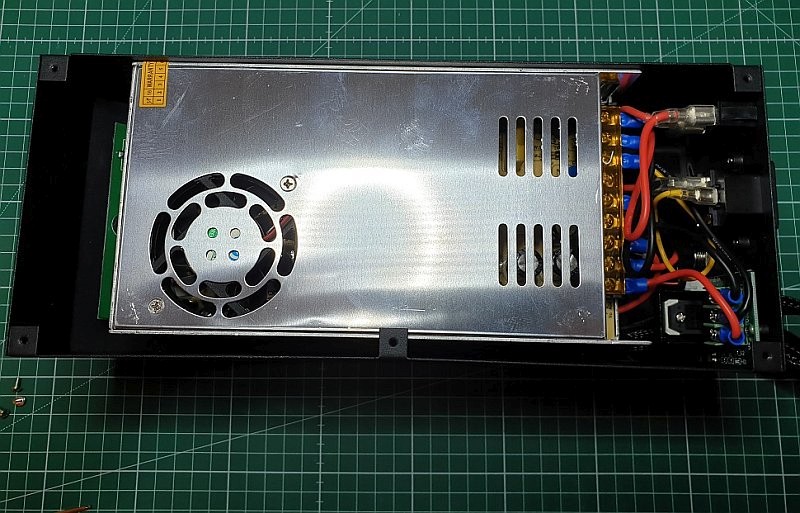
With the power supply loose I gently flipped it aside to expose the controller board. The wires connected to the power supply should be long enough and no need to remove them. If you do this, take a photo or two of how the board is wired up. Chances are that it would be the same as mine but just to be sure.
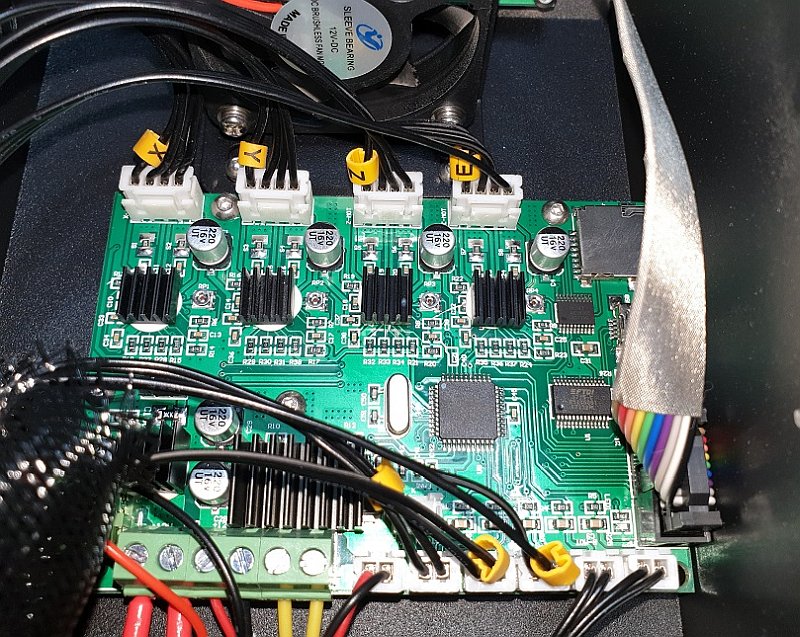
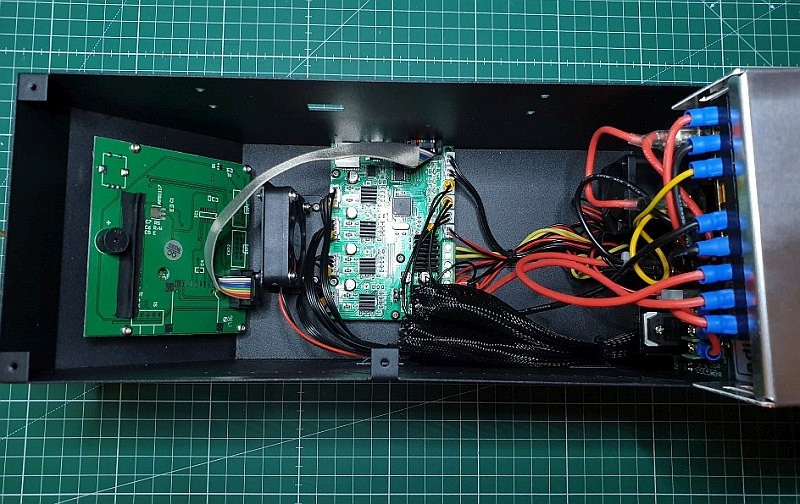
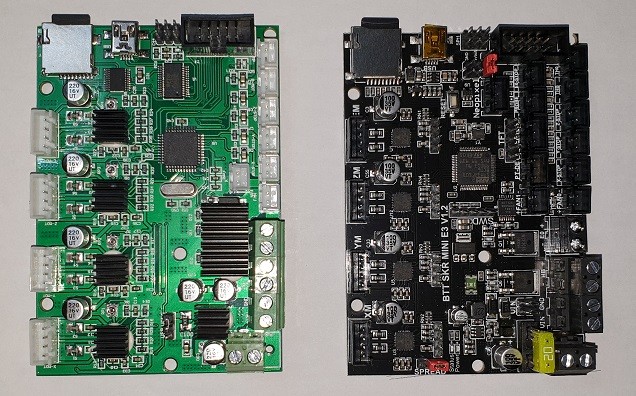
Next I unplugged and unscrewed all the connectors and wires going to the board. When that was done I remove the 4 screws that hold the board in place and gently removed it. The wiring inside my box was secured with cable ties which I had to cut to make things a bit easier. With the old board out one can see how similar the size and layout of the two boards are.
Then I started to install the new board, all connectors goes back in exactly the same locations on the new board. I found it easier to first connect the power wires, then screw the new board in place followed by connecting the rest of the cables. Once everything was connected again I installed the small heat-sinks on the TMC2209 chips.
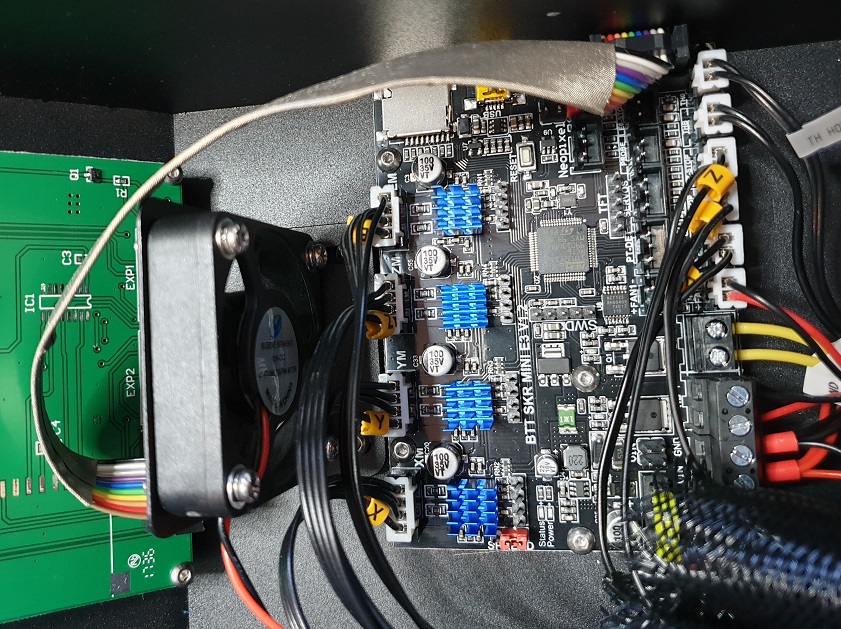
With the board in place and connected I made sure that all wires are tidy again (not to obstruct the fans inside the housing) with some cable ties. Then with the housing still open and power supply out of the way I carefully connected the power and switched the printer on. I made sure that the fans in the housing is running and that the screen is working, I also checked the power LED on the board.
After being satisfied that everything is working again, I reinstalled the power supply and closed up the bottom plate of the housing. Then I took the controller box back to the printer and connected the rest of the cables.
Then the moment of truth, I powered the printer up again and was greeted by the Marlin splash screen on the controller box display.
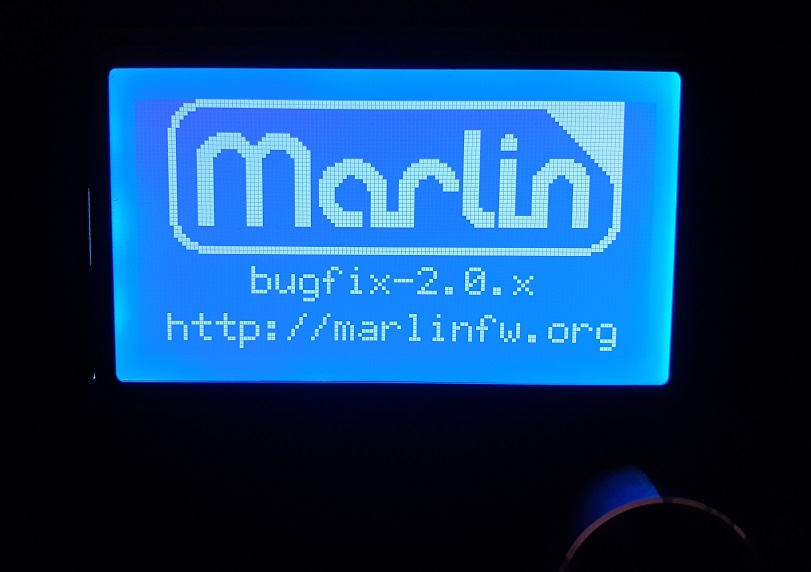
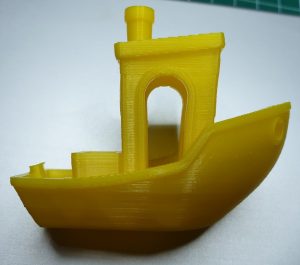
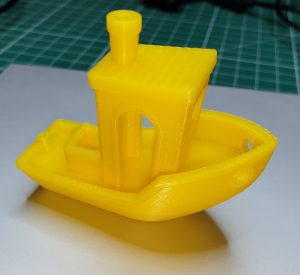
The board comes pre-flashed with Marlin 2 which would most likely not be the latest release but good enough for a first test. To test the motors I navigated to the Motion -> Move Axis and moved each axis a couple of millimeters up and down. Following this I made some more tests like auto homing and heating up the bed and nozzle. Next up it was time for my first print, and what better candidate than the trusty old Benchy!
Final thoughts
As you can see this actually is just a drop-in replacement for the stock board and really easy to do. The TMC2209 drivers really blew my mind when I made the first print, the printer is ridiculously quiet now (except for the stock fans which is now the loudest component). As for print quality, I would say it is also maybe a notch better but I would need some more prints to form a real opinion.
Running and getting more familiar with Marlin 2 is also exciting and I am sure we will see a lot of development with interesting new features being added over the next months. Actually I think since the Marlin 2 HAL for this board is so new it would anyway be a good idea to regularly keep an eye on firmware upgrades to improve performance and fix any bugs that might arise.
If you want to performing some upgrades to your Ender 3 or CR10 I would highly recommend that you consider this upgrade, for €25 it really adds a lot to your printer and printing experience.
If you are interested in this board below are some additional links:
The official AliExpress shop:
https://www.aliexpress.com/item/33044182376.html?spm=a2g0s.9042311.0.0.1a714c4d0rBftd
Github page with additional information and firmware: